The folloowing are example steps on how to upload data from a CSV file to CRM 2013 online.
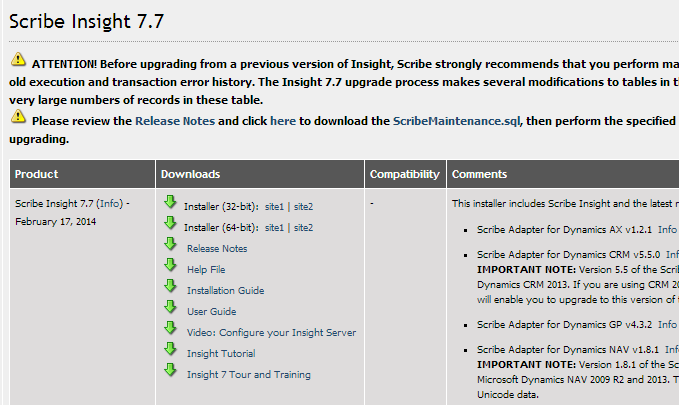
- Download and install Scripe Insight from the following location
https://openmind.scribesoftware.com/html/insight_download
2. Run The Scribe workbench. You will have to register at this point. Follow the instructions in the Product key. You will be presented with a screen to configure source and target.
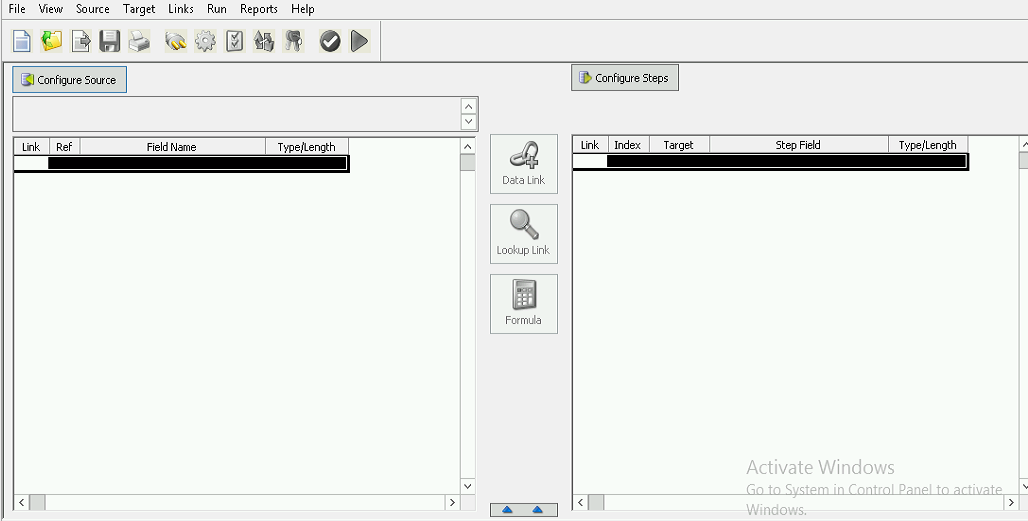
3. Configure the Source for the CSV file. Click Configure Source.
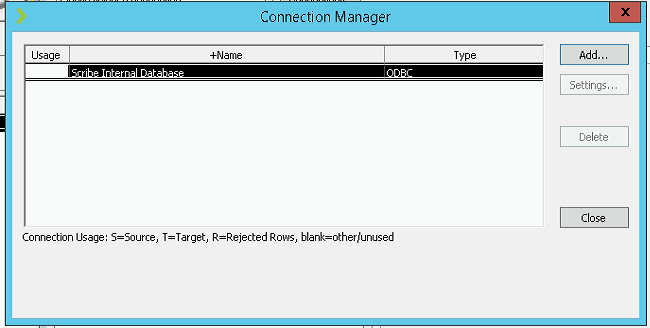
4. In the connection manager click Add.
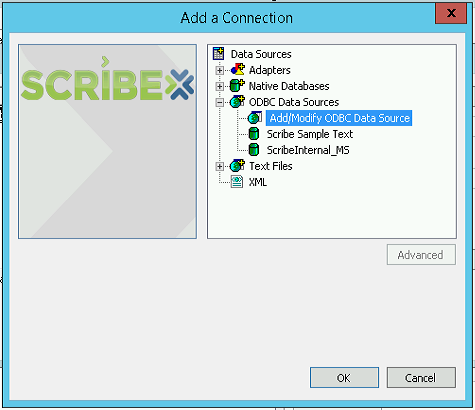
5. You need to add the odbc driver in for excel by first clicking add/Modify ODBC Data source under ODBC Data sources and then click ok
6. In the System DSN tab of the ODBC Data Source Administrator screen click add , select the Driver do Microsoft Excel(.xls)
7. Click Finish.You will then be asked to specify a name and description
8. Click Ok and Ok again. CSV will now be in you list of drivers so select it and click ok
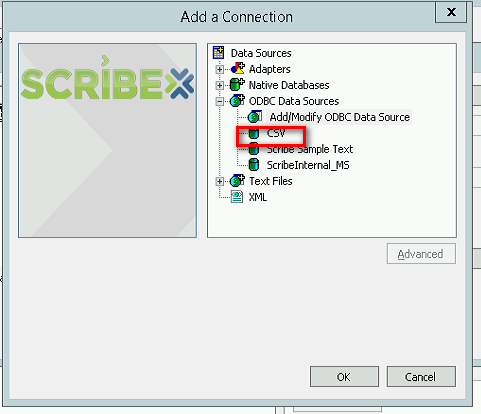
9. Select CSV on the configure source screen and select ok. The source is now set up
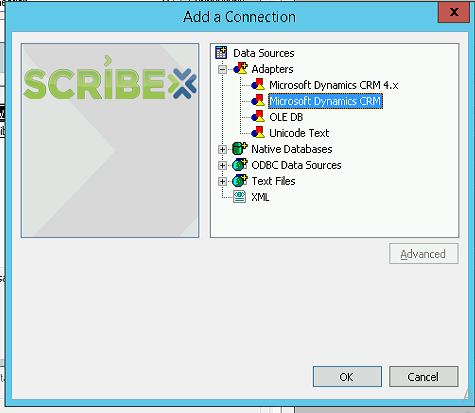
10. Now Configure the Target. Click on Configure Steps. Then Click on Connections , Click Add . This Time Click Microsoft Dynamics CRM under adapters and click Ok
11. You will be prompted to enter the CRM connection details. Give the connection details of your online instance.The server should be
https://disco.crm4.dynamics.com in a Office 365 instance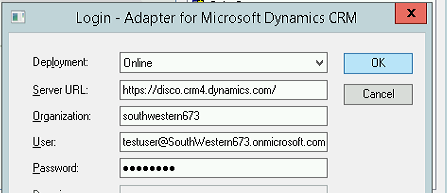
12. Click ok(wait for it to connect and then close on the connection manager screen. Select the Adapter from the drop down menu back on the configure steps screen.
13. Now you need to specify your insert steps. Under all Data objects (alphabetical) find the entity you want to insert data into first , highlight and click Add insert step.
14. Click Close on the window. You are now back to Main Scribe work Bench window where you start mapping fields. Tou can use the link button to link fields together
15 You can use the formula button to specify conditions for you link. For example in the screenshots below. Conditions are used to set the target picklist to 1 if the source ia null
16. You can test the data before running it and iron out any mismatches
17 Once Happy with all your links you can Run for real. You May get more errors at this point. Click error info once finished
18. The records will be migrated from your source csv file to your target CRM online contact entity
19. The solution can be saved and checked into a source control.


